Case Study: CJ Buys

WEB DESIGN
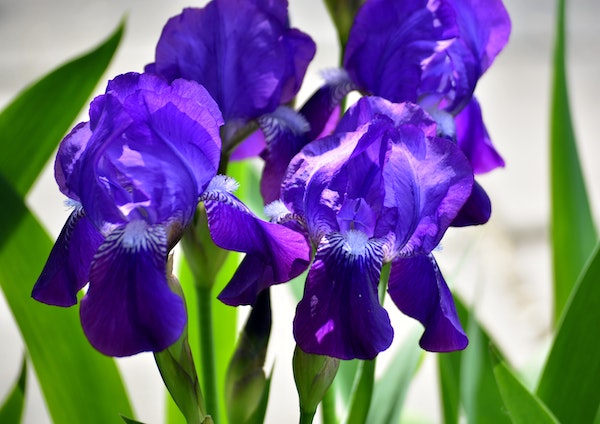
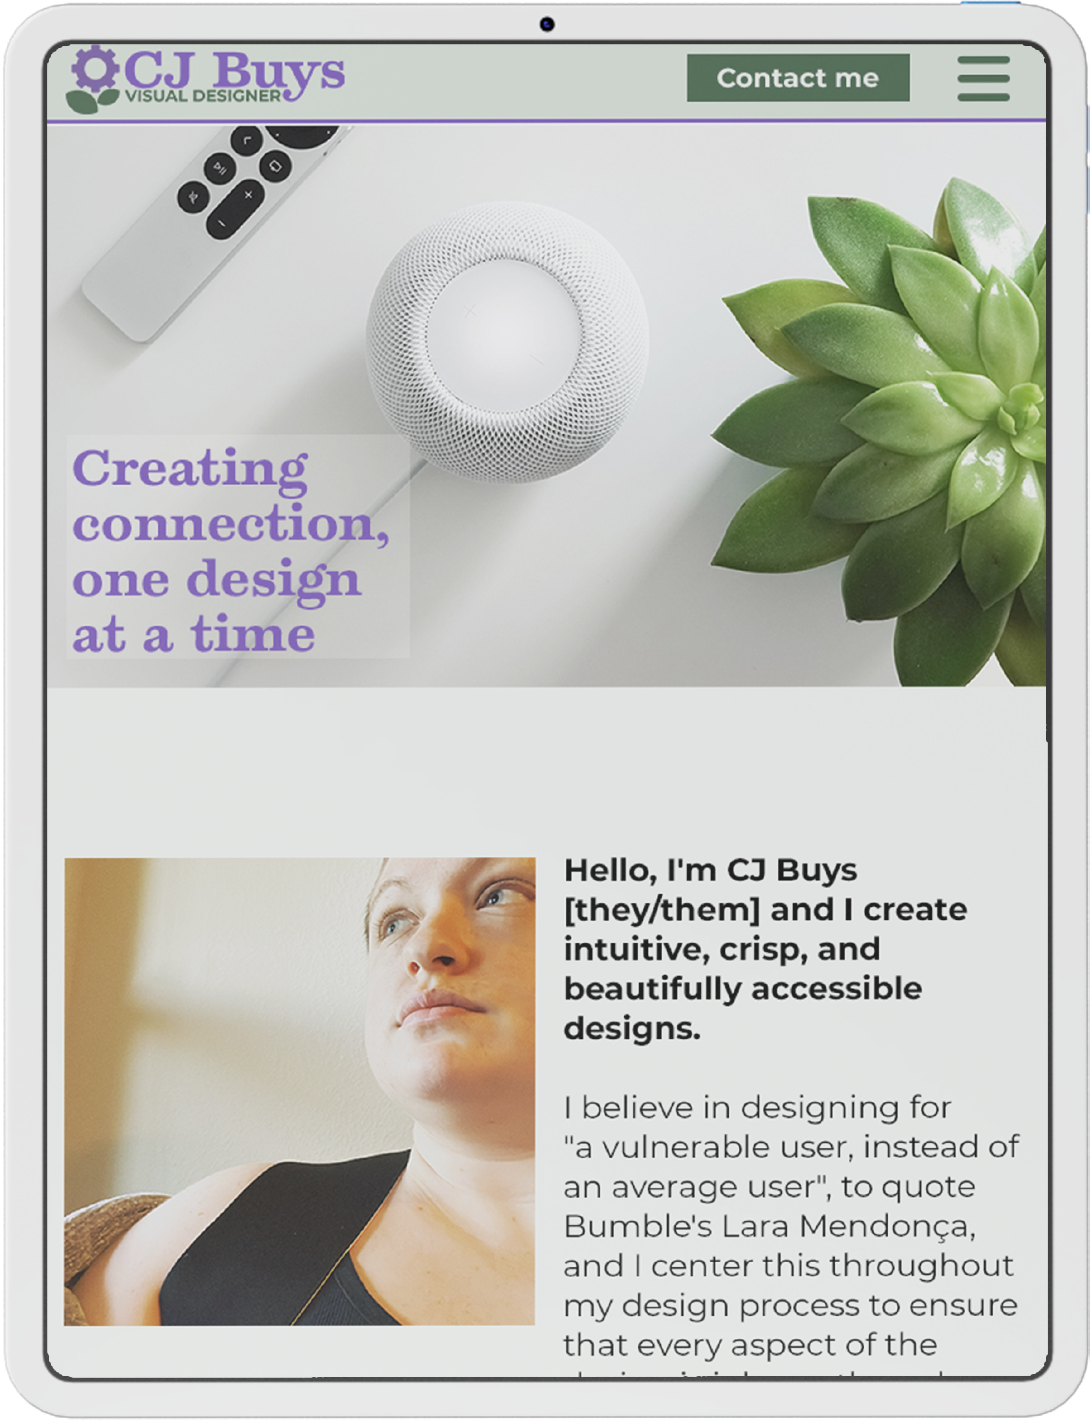
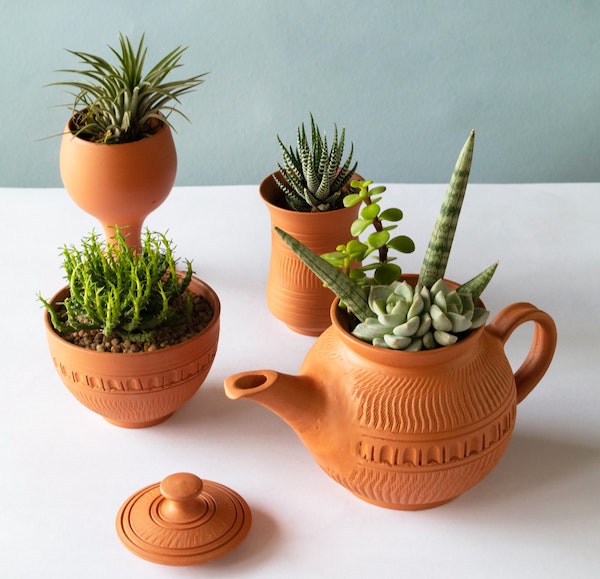
This design pairs one of my favorite images – irises in spring – with my intuitive, crisp, and accessible design style to show off who I am as a designer
Skills: Brand and identity design, color and typography, logo and business card design, responsive web design, accessible web design, web development
Tools: Figma, Photoshop, Illustrator, InDesign
The Project
Project overview
In order to introduce myself as a visual designer, I decided to design my own portfolio website to showcase my work and myself to future prospective employers. The design would feature my design projects and skills, a personal introduction, and a contact section, and the entire website would be responsive and accessible.
Project scope
Deliverables for this project included a brand personality, color palette, font pairing, set of logos, business card, and webpage, including designs for a main page and for a case study page. Deliverables were created using Figma, Photoshop, Illustrator, and InDesign, and the final webpage was coded in HTML, CSS, and JavaScript using Visual Studio Code, Git, and GitHub.
Project role
As both the client and the designer on this project, I worked to bring my own style and personality to life in a design that both showcased and featured my design work.
The Process
Project goals
As I pivoted my career towards working full-time in design, I knew that I would need a portfolio website to show off my skills as a designer to prospective employers. I also wanted this project to prioritize accessibility at every stage of the design process, because of my personal and professional passion for an inclusive and welcoming world, and to be filled with my personality, both as a designer and as an individual. The project goals thus included creating my own brand and logo, designing my website, and developing the final website into a functional design; I wanted my portfolio to be its own introduction to me and my work, not merely a vehicle through which to see what I can do as a designer.
Brand identity
From the very beginning, I had an image of what my personal brand was that I knew would drive every aspect of the design. I grew up spending so much time outdoors, playing in the garden and going on long walks in the woods, and I’ve continued to be so in love with the natural world as an adult, so I wanted to bring an element of plant life to my brand. It would speak to who I was as a person, but would also lean into this theme of organic growth and connection building that is at the core of who I am as a designer – I design because I want to create an online world that’s accessible and welcoming for everyone, allowing us all to connect to, learn from, and grow with each other.
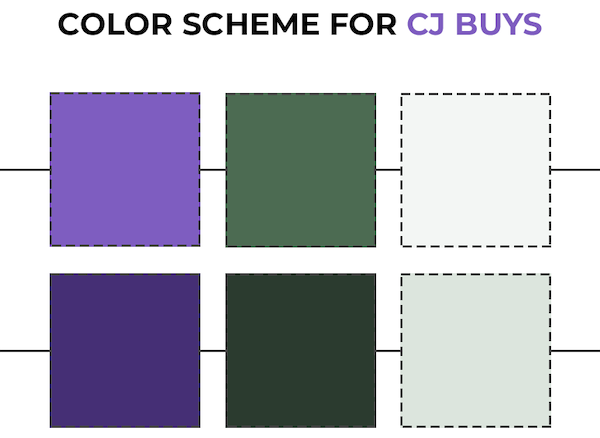
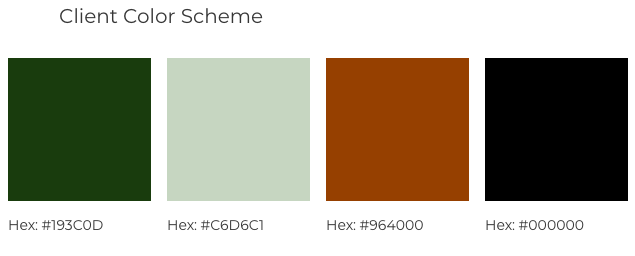
My color scheme inspiration came from a favorite memory of watching irises bloom in the spring. They’re such vibrant, quirky flowers, which is maybe why I love them so much, as the same can and has been said about me. The iris’s vivid purple would also speak to my creativity, which I believe is a crucial part of what makes a good designer; we need to be able to think outside the box, combining tried-and-true strategies with new ideas in exciting and evocative ways to bring our work to life. I hoped that this combination of purple and green would subconsciously bring these qualities to mind in my users when they saw them throughout my brand.
My initial logo design sprung directly from the brand imagery I’d been developing – I imagined a flower growing out of a computer monitor, really driving home the combination of technology and organic growth. But, when I started to create the logo in Illustrator, I found that I wasn’t as fond of the actual design as I was of the idea behind it. There were too many parts to it, and I felt it came across as more scattered and less cohesive than I’d been hoping it would be. I wanted it to be simple and evocative, something that was instantly recognizable, but this design wasn’t living up to that. I cut it back, taking out the monitor and the flower’s stem to leave just a blossom and leaves, and then switched the flower petals for a gear in the same purple; with the bright purple color against the green leaves, it was still clearly a flower, but the gear brought in a technological element. This new logo reinforced the brand identity I’d begun building with the color scheme with a simple design evoking both of my brand’s main themes, which was exactly what I needed it to do.
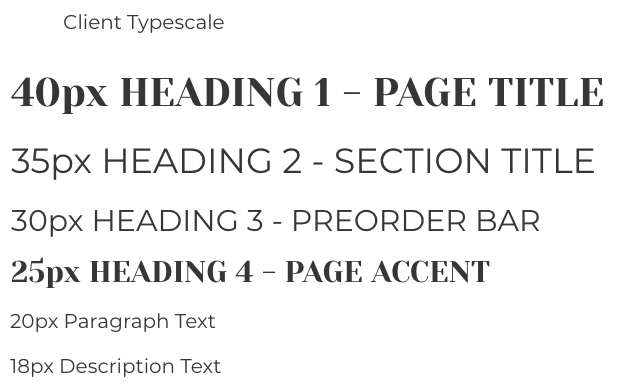
I also wanted to create a larger logo that would incorporate my name, so I started looking into fonts. I wanted to find a display font for my main brand font, possibly with serifs; I wanted it to be easily legible but also have beautiful curves and some interesting textural elements to give it character. I was initially drawn to Fredericka the Great – the letters were elegant and had enough weight on even the thinnest strokes, but had some gorgeous shading on the letters that caught my eye the moment I saw it. It was both rustic and stable, and I absolutely loved it. Once I started using it, however, I immediately realized that it wasn’t going to work – the letters’ shading was transparent, which made the letters hard to read in any combination that wasn’t pure black-and-white, so it just wasn’t accessible with how much color I wanted to use throughout my design. I started looking again and soon found Temeraire, an Adobe font with beautiful, clean lettering and gorgeous accents that combines reliability with a quirky creativity that’s very true to me and to my brand. And it was a perfect pair to Montserrat, sharing many of the same letter shapes with the clean sans-serif font that’s been a favorite of mine ever since I first saw it – I love how Montserrat combines beautifully consistent lines and slightly wide letters and kerning to make text so easily legible. This combination would be attractive and on-brand, and would create a great starting point for creating accessible text in my designs, including my complete logo.
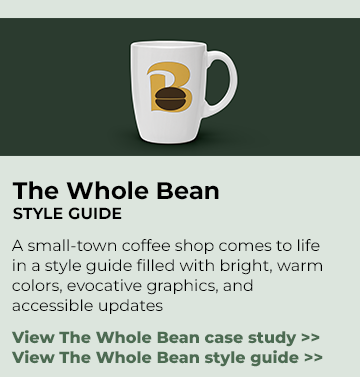
Finally, I combined the color scheme, logo, and font pairing in InDesign to create a digital business card that could also be printed for in-person use. I used the pale green accent color with black text to echo my planned website design and promote readability in all formats, and filled the top half of the card with my complete logo to draw the eye in. Finally, I placed my contact information on the right half of the card to create a dynamic, visually interesting design without sacrificing the legibility of left-aligned text.

Website Design
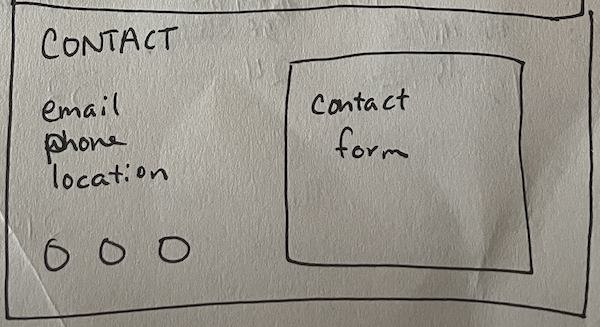
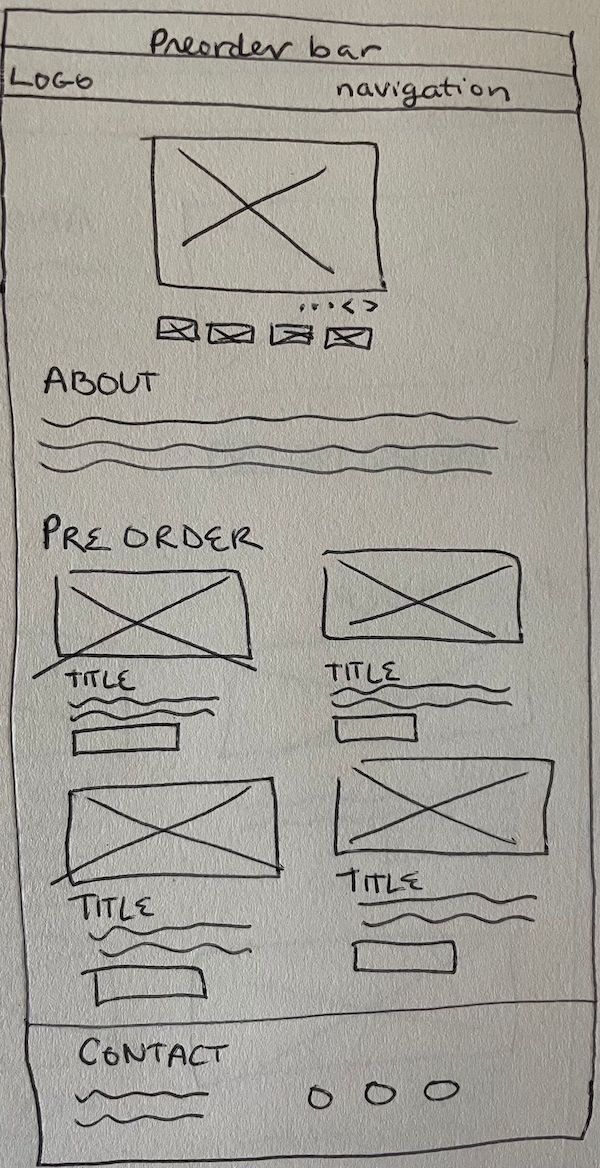
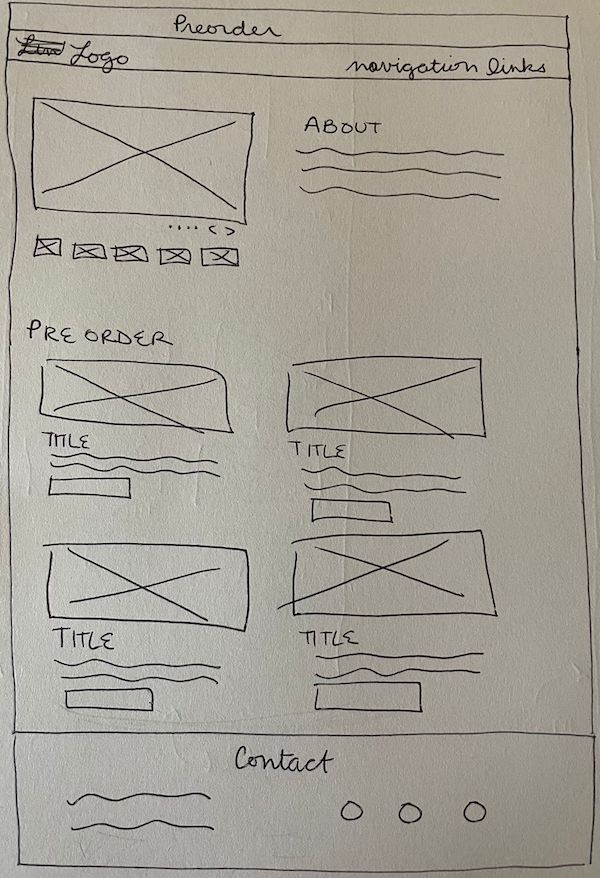
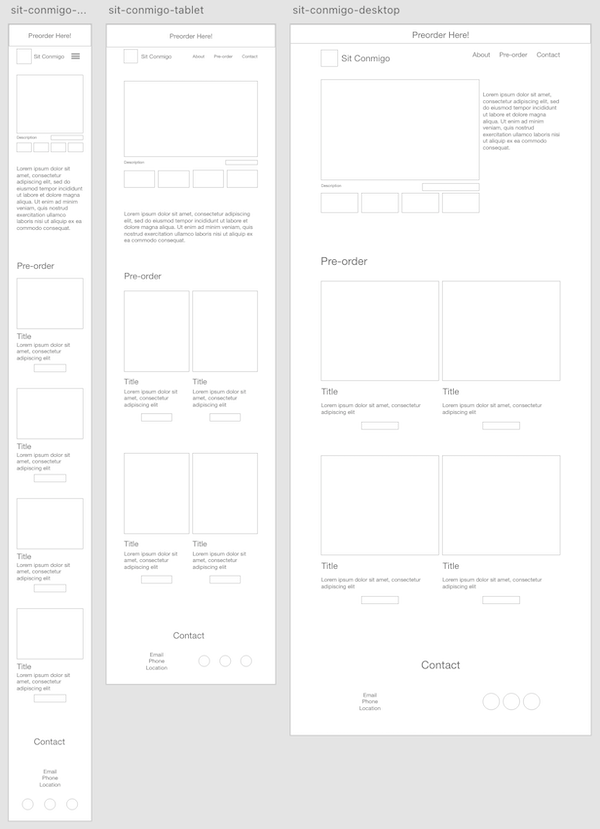
I started creating the website design with a pen-and-paper wireframe that featured five sections – a header bar with navigation links, an introduction with a full-width hero image, a work section with subsections for each featured project, an about section, and a contact section. I then started creating the digital wireframe using Figma, creating each section for the mobile design before editing them for the tablet and desktop design. I made several changes to the design during this process, including adding more space between sections, adding borders around the featured projects to differentiate them, and adding a basic contact form.

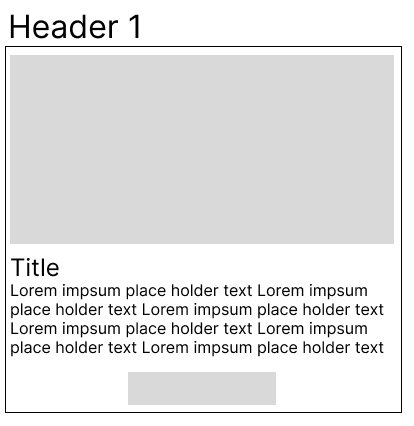

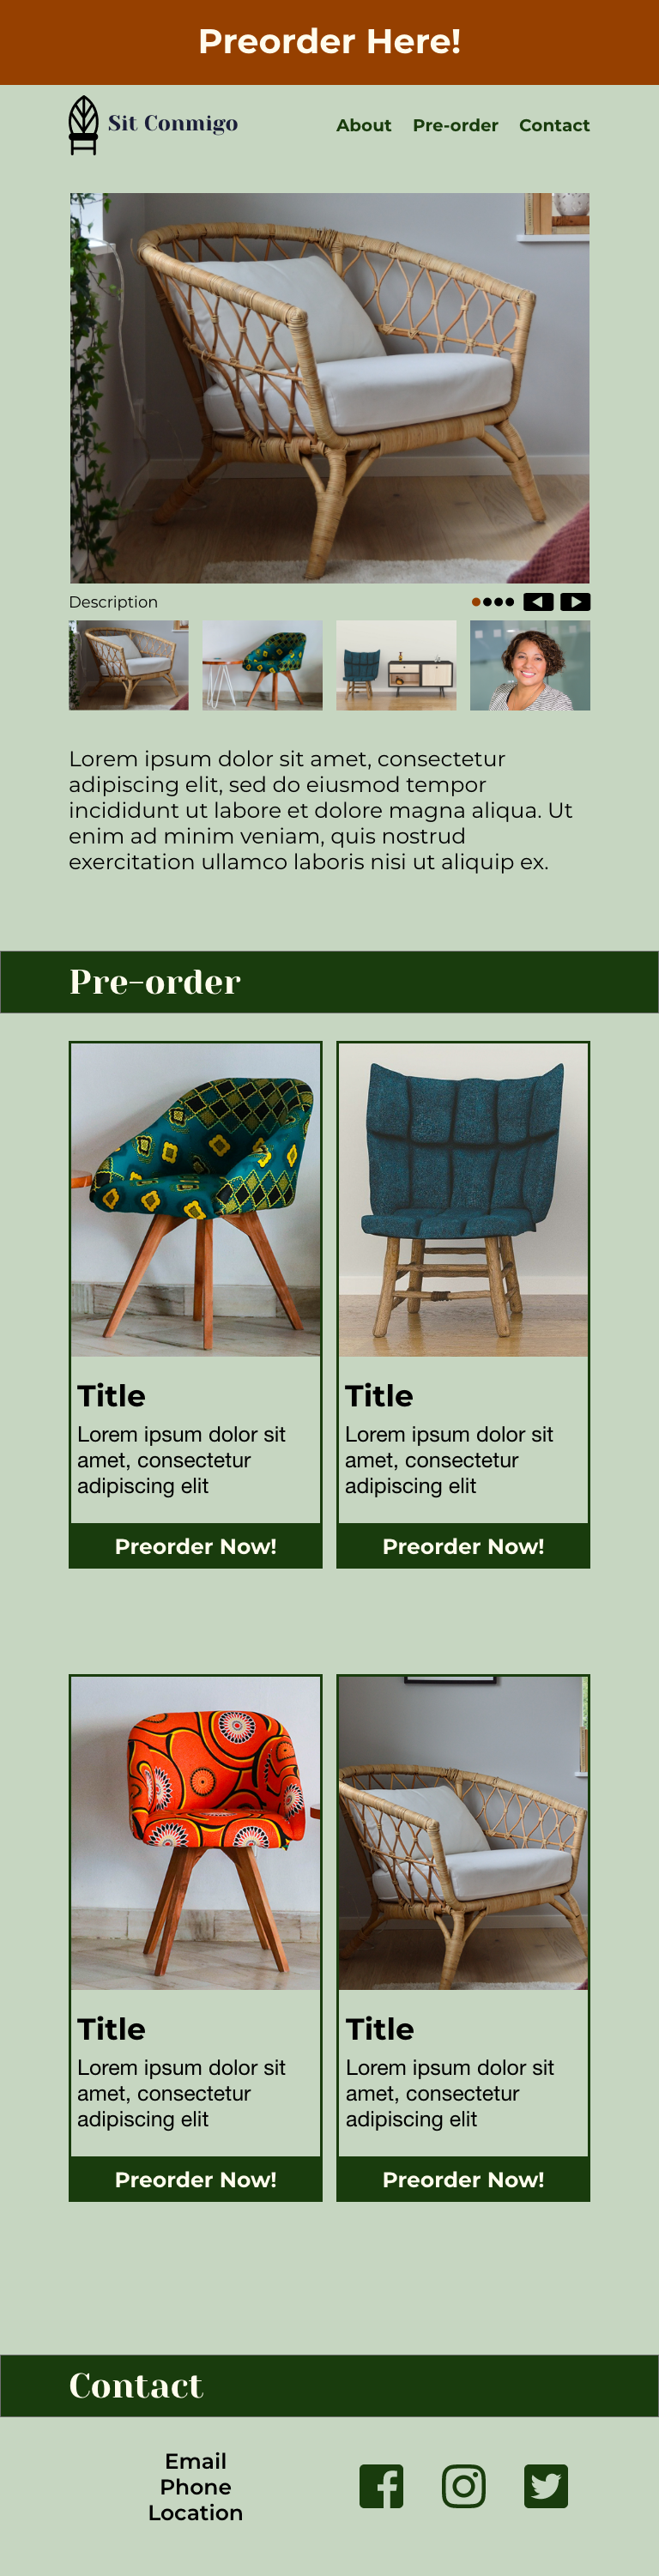
As I prepared to move the wireframe into Photoshop, I decided to focus on designing the mobile design, rather than designing mobile, tablet, and desktop versions simultaneously. I knew that perfecting the feel of the tablet and desktop designs would likely require some changes to the mobile design, but I also knew how much time propagating every change across the three versions would take, and was sure that this would be the most efficient design strategy. I created the mobile design from the wireframe and began fleshing it out with images and copy, including a stunning hero image and pictures of my designs. I decided against the blocky borders around the featured projects, feeling that it made the whole design feel very modular. Instead, I used circular images and centered text for a more organic feel, and added plenty of space between the projects to keep the design from feeling too tight or confused.


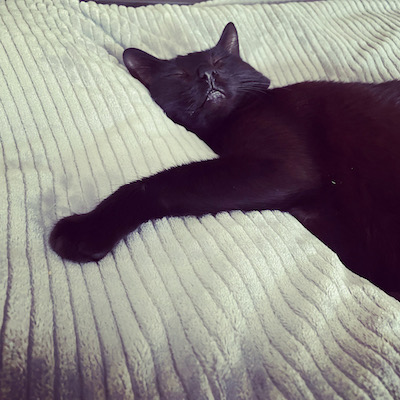
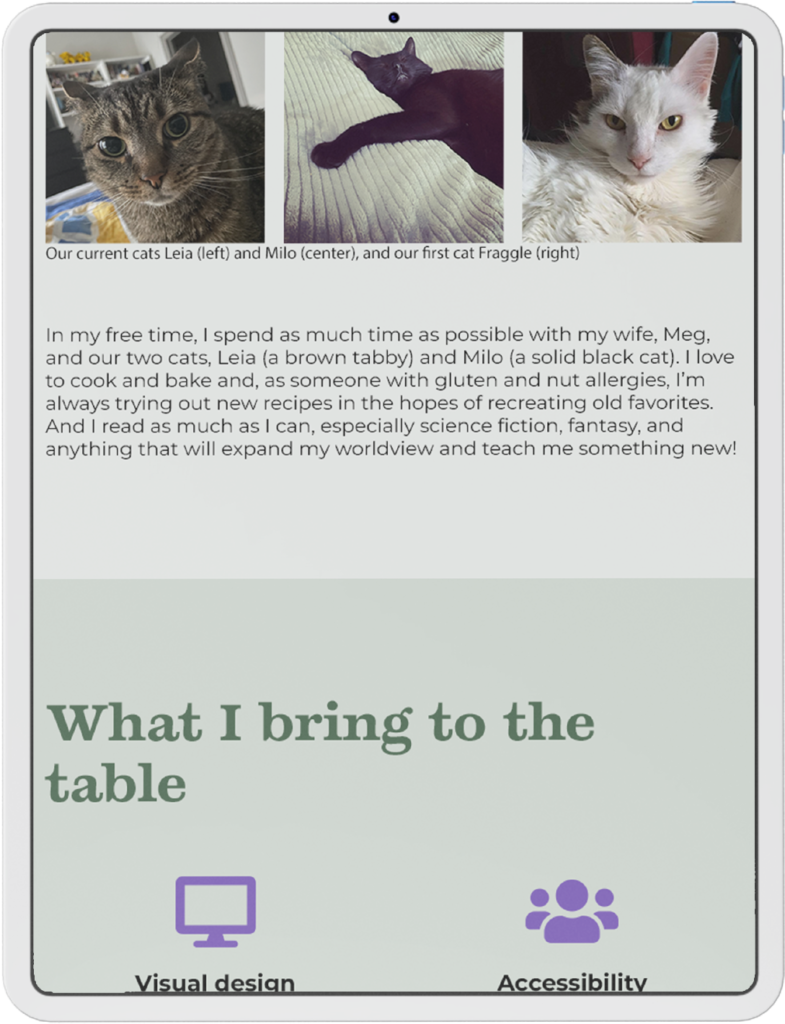
I also expanded the About section to include three paragraphs that would introduce users to my professional goals, passion for accessibility, and personal life. I’m a disabled, queer person and I use my experiences with both of these identities to inform my designs, creating work that’s accessible and welcoming to a wider variety of users because of those identities; they’re not just a huge part of my life, they’re also an asset to my work, and I want to work with people who also see them as assets. And, to prevent the section from becoming a wall of text, I added a few extra photographs, including images of my cats and my beautiful wife.

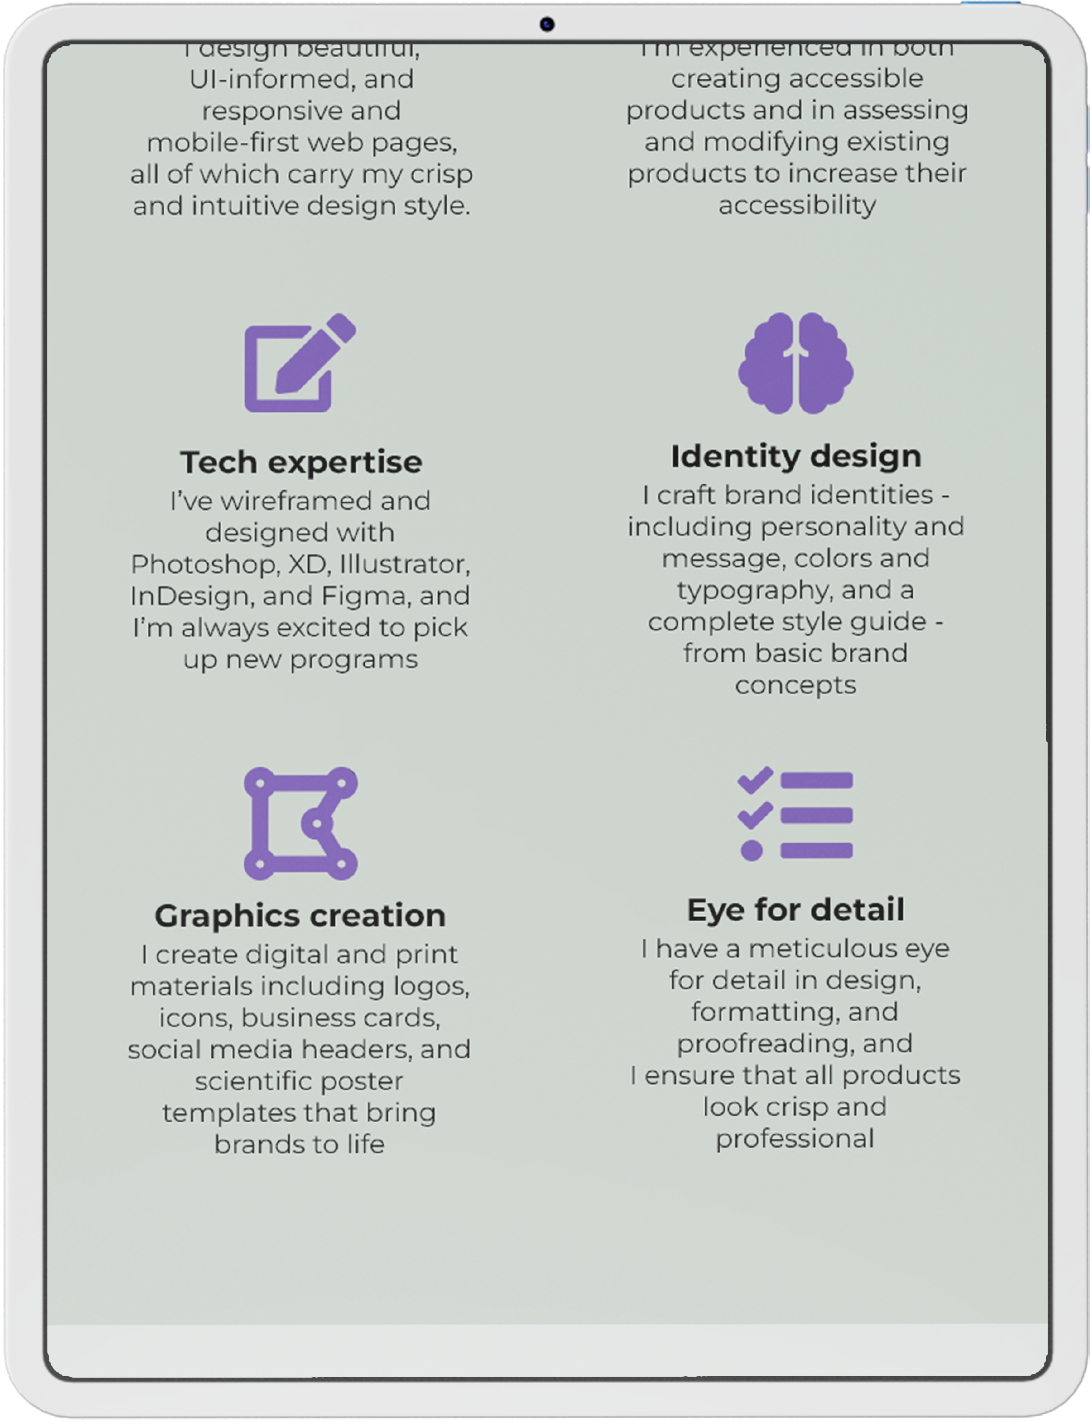
Being a good fit with a company or a client is more than just the work I’ve done or who I am, however, so I also added a new section to talk about some of my most important skills. I centered the skills and gave them a lot of breathing room to give the subsections a dynamic and open feel, but kept the text tight to promote readability. I then capped each skill with a descriptive icon in my brand shade of bright purple, to draw the eye and provide a quick visual introduction to the skill below.
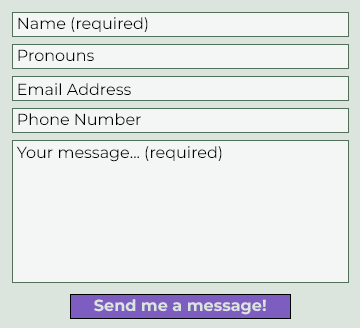
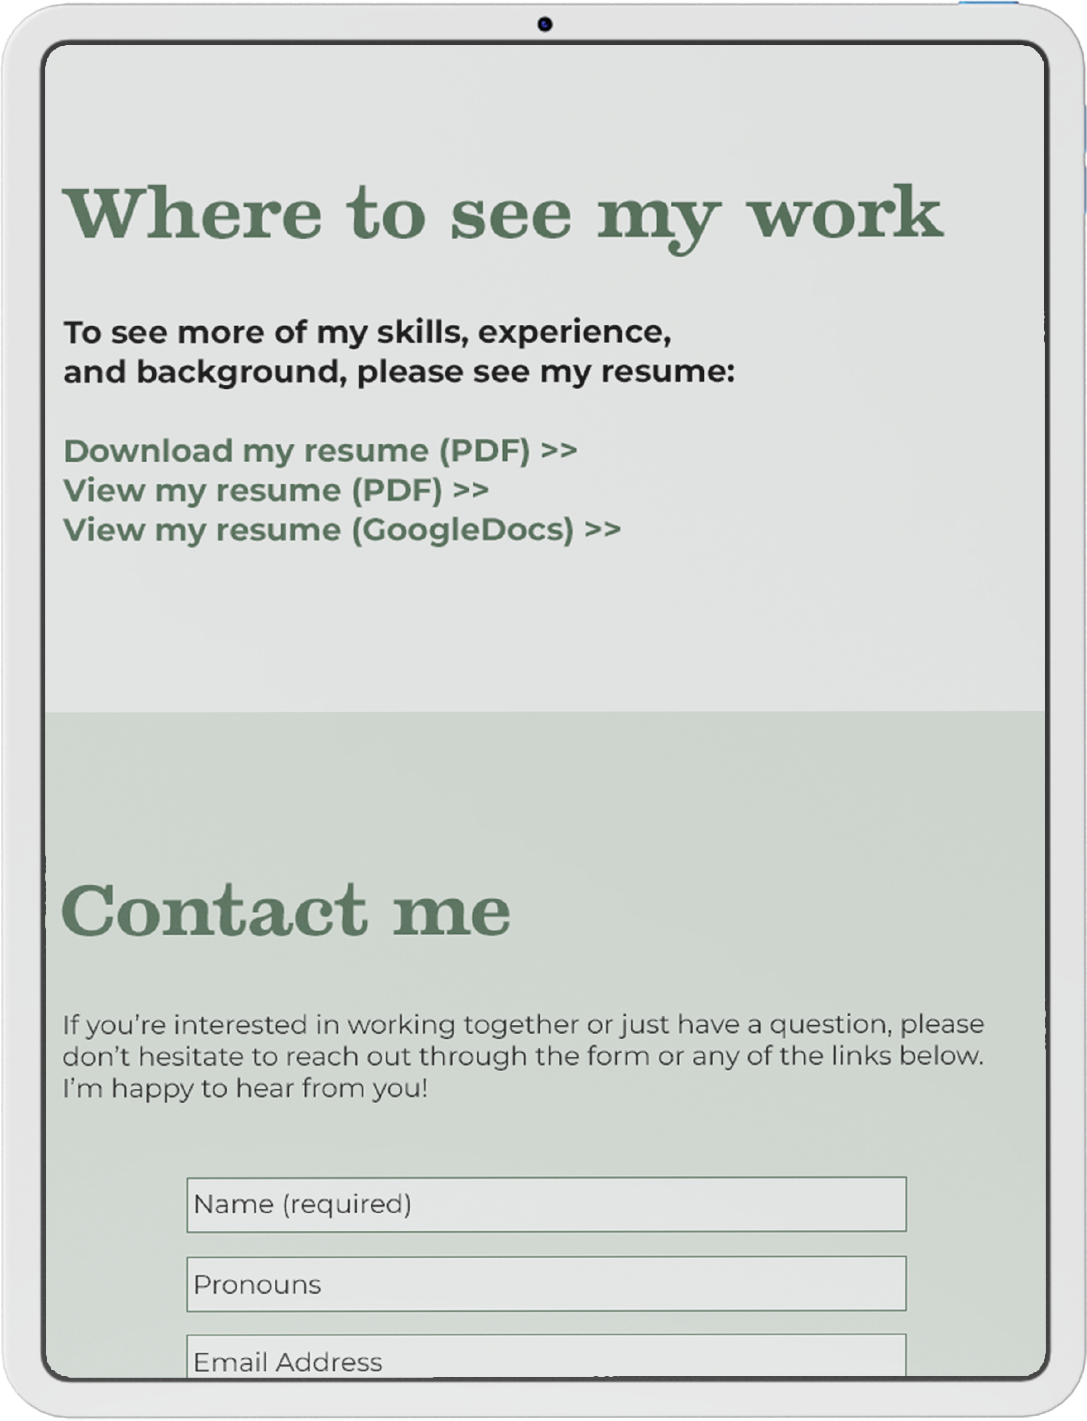
The contact form in my wireframe had been very basic but, as I fleshed out both the design and its personality, I started to reconsider whether that really worked for me or for my brand. I have a unique perspective as someone who uses they/them pronouns – I’m frequently misgendered, which can be very distressing, but I also find it awkward to correct people or to preemptively give them my pronouns. Culturally, it’s not something we’re very comfortable with, but why does it have to be that way? Each design is a chance to reconsider how we want to interact with the world and how we want our users to feel, and one of the easiest ways to create comfort around pronouns is to cut out the pronoun dance entirely and deliberately create space for pronouns. So, if I’m already collecting a user’s basic information in the contact form, why not also collect their pronouns? It gives me the ability to interact with my users in a way that’s authentic and comfortable to them, and it shows them my values and respect for them in a way that goes beyond just appearances.
User feedback
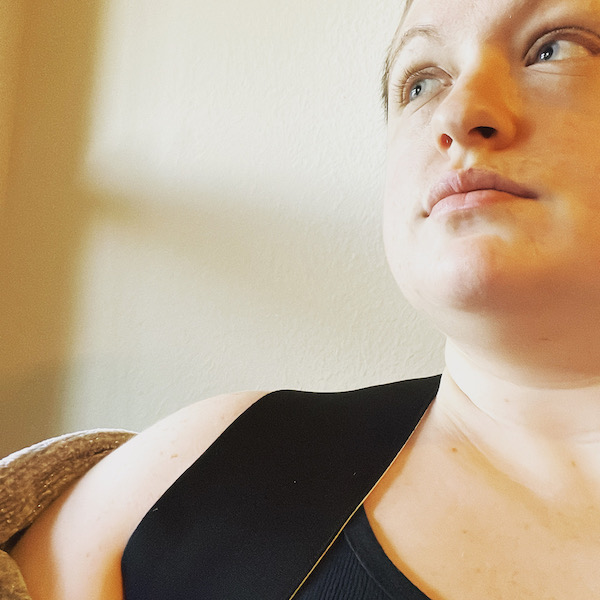
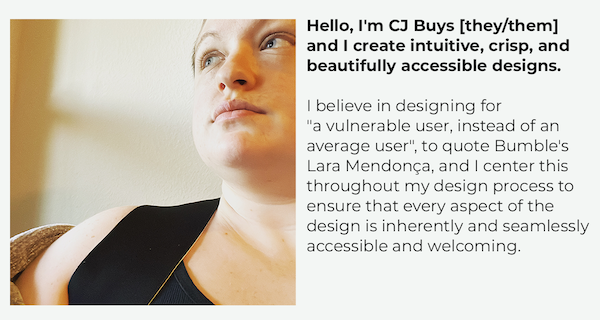
Having completed a first draft of the design, I reached out to fellow designers, non-designer small business owners, and others for feedback on the design, to ensure that it accurately showcased me, my personality and brand, and my work. One of the areas I’d specifically asked for feedback around was the selection of personal photos I’d included in the About Me section. The result was unsurprising – everyone’s favorite photo was of my incredibly adorable and photogenic cat, Milo – and I created a new introduction section at the top of the page featuring their favorite photo of me. This was also the perfect place for a quote that I’d seen in an article on Bumble’s product design that had caught my heart on fire. In it, Bumble’s head of product design, Lara Mendonça, talks about designing for “vulnerable users” instead of average users and, while she was talking about designing a dating app for women, that quote cut to the heart of why I center disabled people in my designs. Products designed for disabled users generally still work for non-disabled users, but the reverse often isn’t true. To make designs accessible to and welcoming for all, we have to center our most vulnerable users and their needs and experiences.
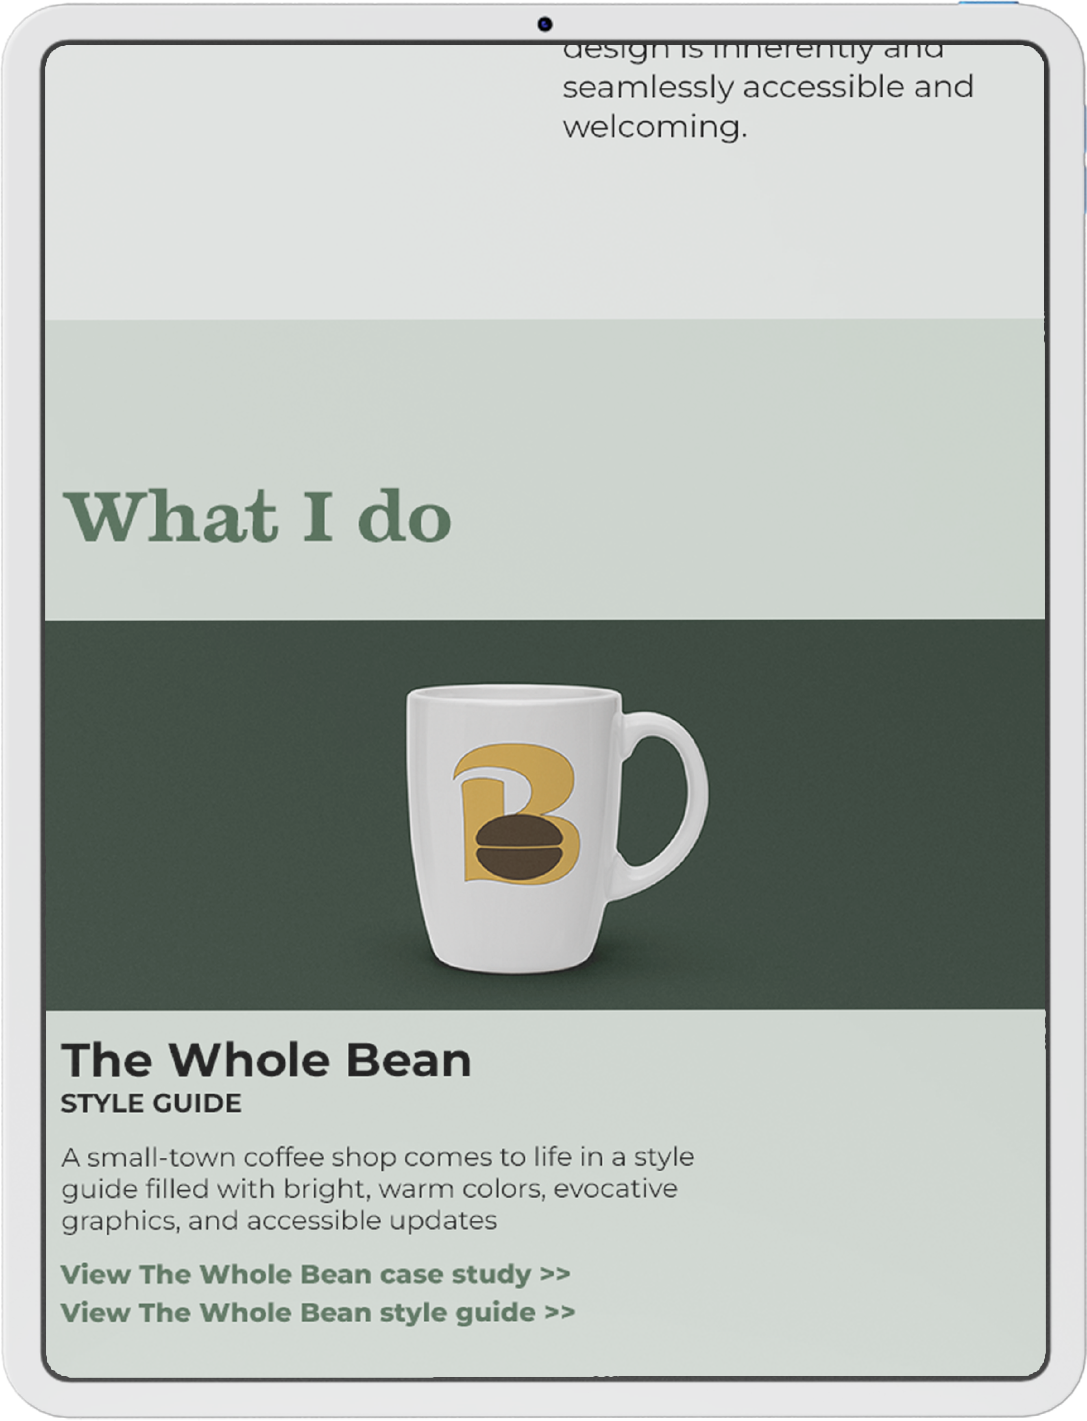
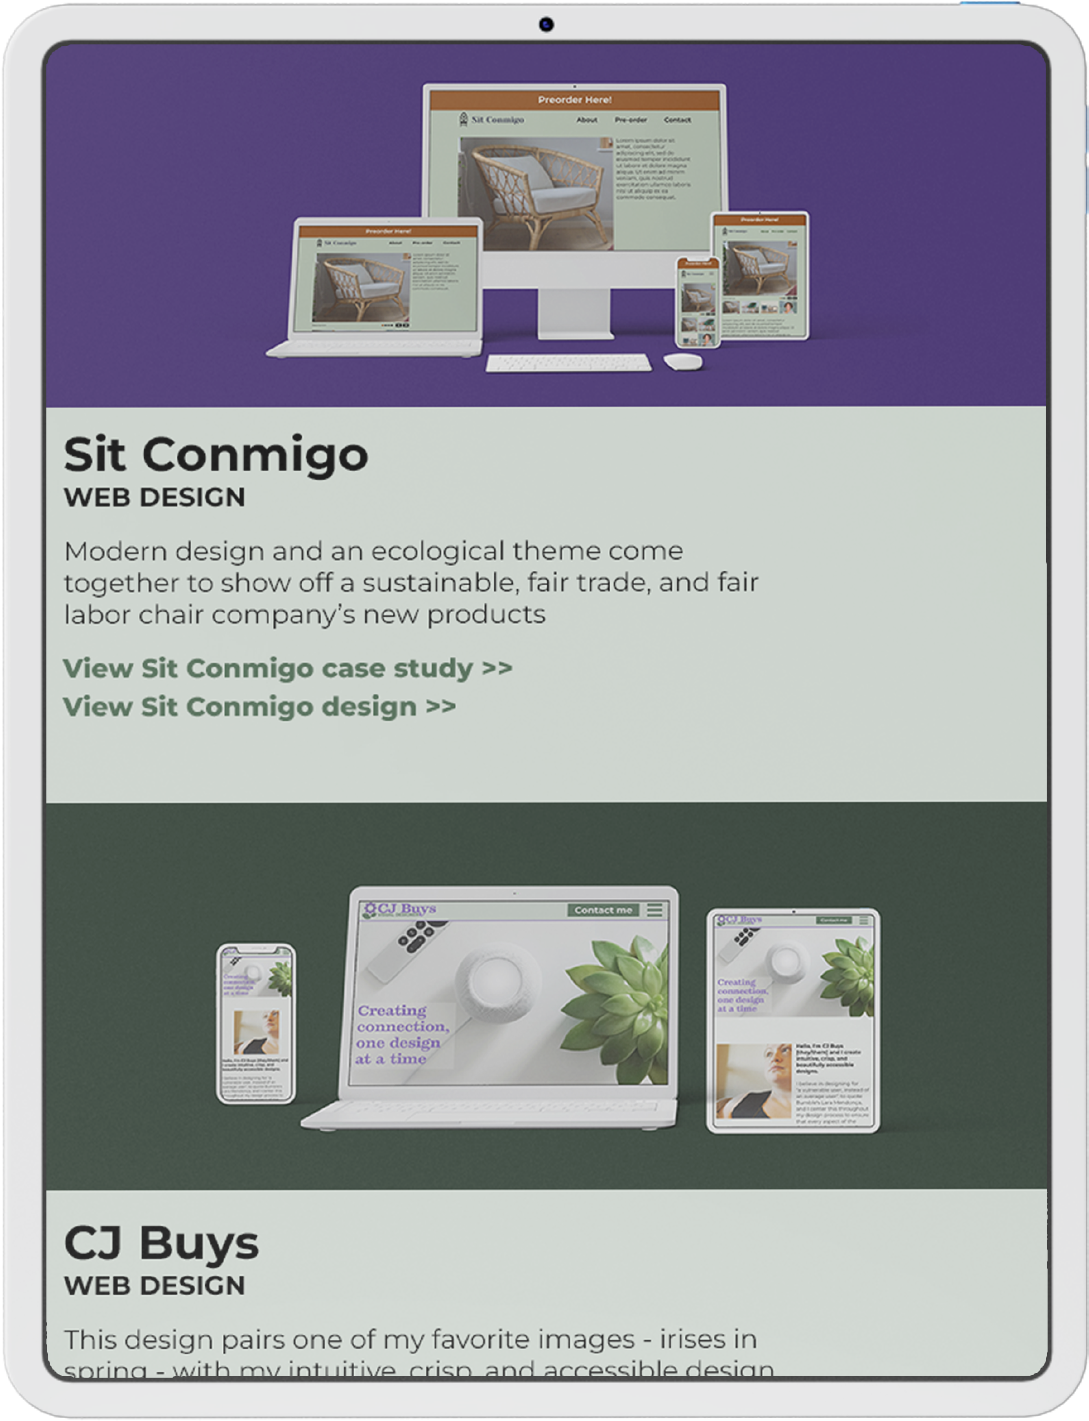
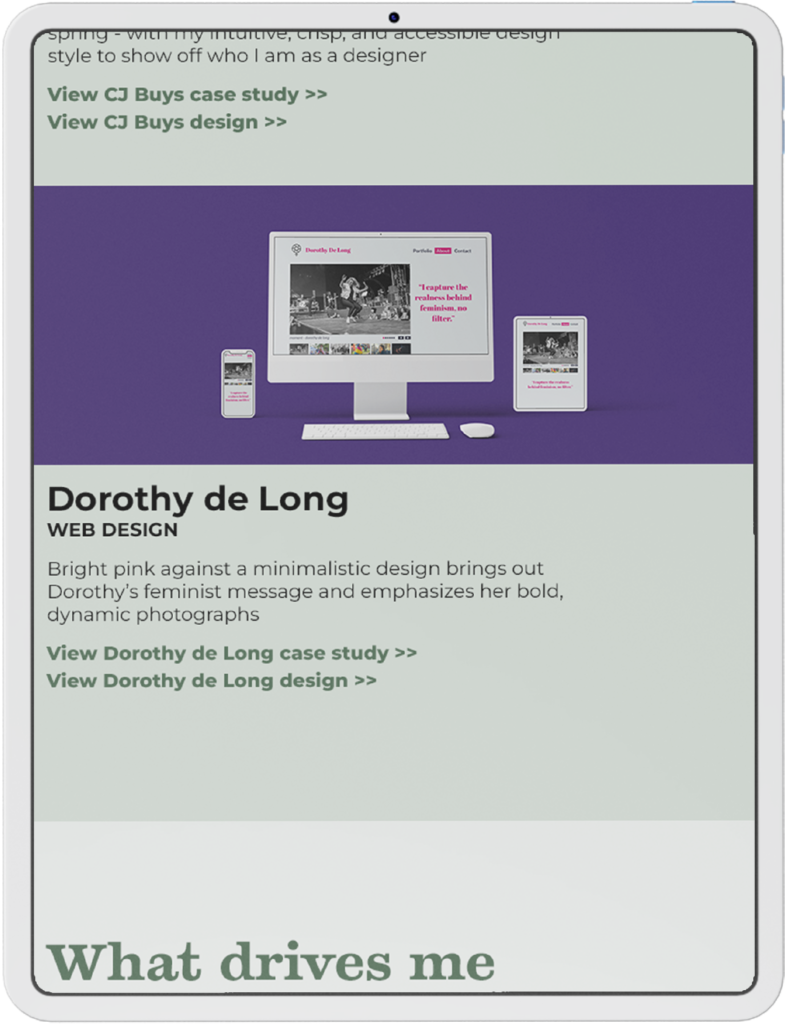
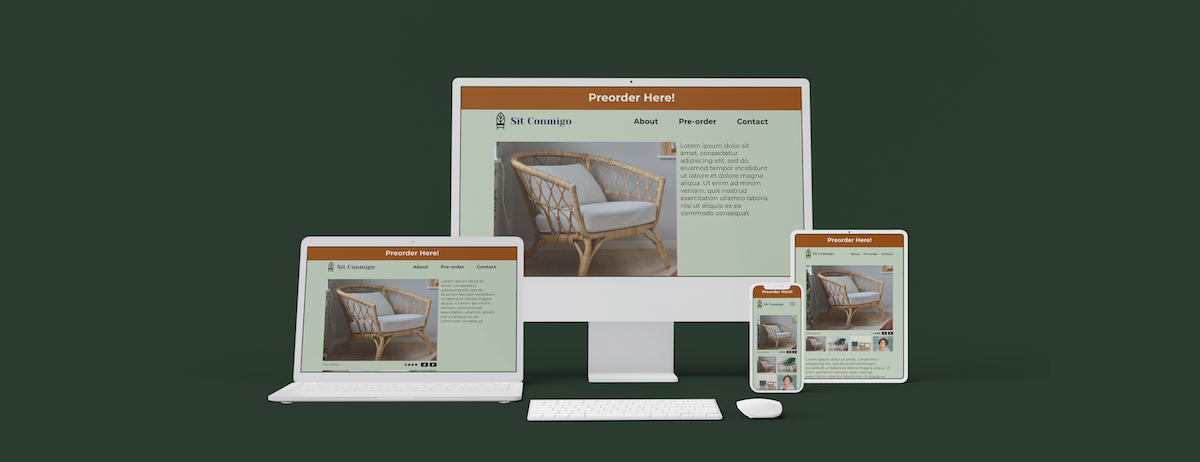
Simultaneously, I reviewed other designers’ work in order to see which of their techniques I liked and which would possibly work with my existing design. One of the design elements I fell in love with was using wide, dynamically colored backgrounds for mockup images to catch users’ attention and beautifully show off the designs. I decided to implement this, using a darker shade of the green from my logo for these backgrounds to make the white-framed mockups really pop. I also reformatted the projects section, filling the entire width of the screen with the mockup images to create organic breaks between the projects without the borders I’d rejected earlier in the project.
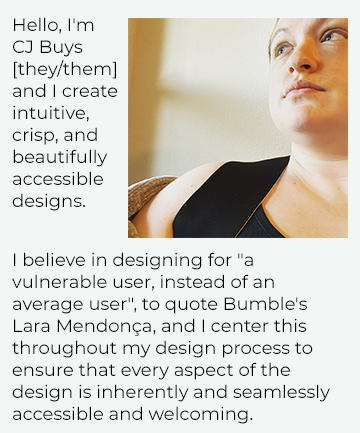
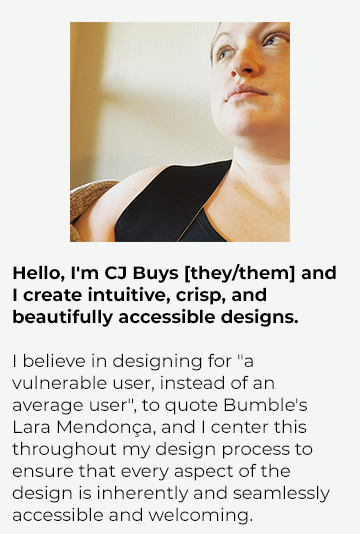
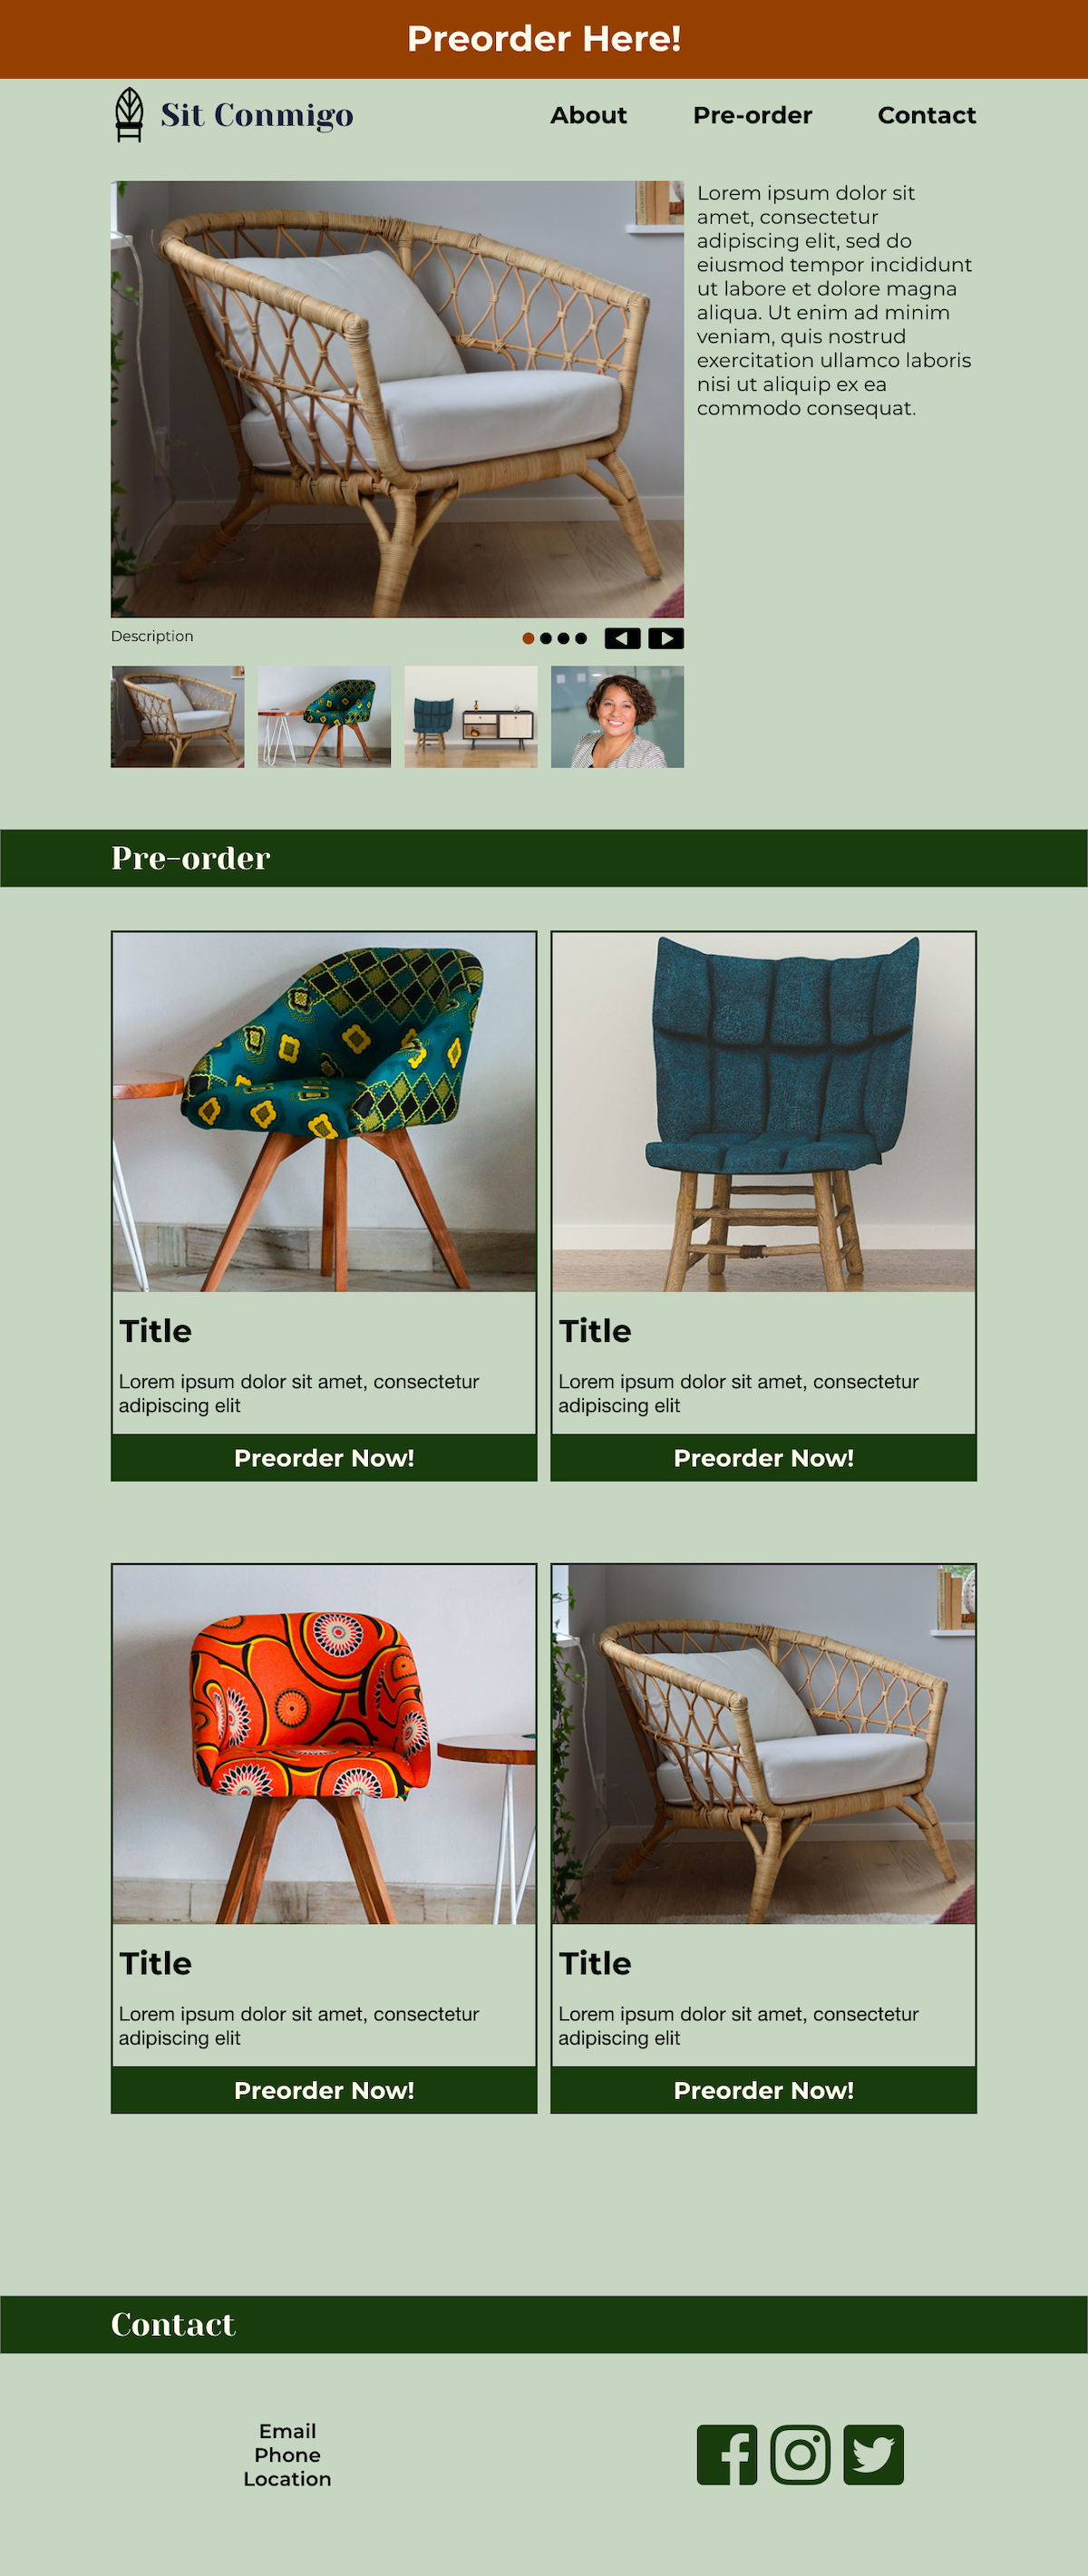
Finally, I created copies of the mobile design for tablet and desktop versions, and adjusted the formatting to fit the new widths. Early in the design process, I had made notes of the different typefaces – including font, size, line height, weight, and color – in order to create consistent styles across sections of the site’s mobile version. While creating the tablet and desktop versions, I used the first instance of each style to set the proper conversion, and then adjusted each subsequent instance to match, so that the website’s style would remain consistent between and within versions. I also adjusted the formatting of some sections to facilitate a smooth transition between versions. In the case of the introduction, I had originally split the text block into two sections, one beside the photograph and one underneath. On the mobile design, this was beautiful but, when I attempted to match this on the tablet and desktop versions, it didn’t have the same impact – at an appropriate size, the first block of text was either much shorter than the photo or was ridiculously skinny. I decided instead to place both sections of text together below (mobile) or beside (tablet and desktop) the photograph, and to bold the first section and add a small gap between the sections for emphasis, which preserved the flow of the design without sacrificing the readability.

Project conclusions


Challenges
One of the biggest challenges of this design was acting as my own client, without a doubt. I had so many ideas of what story I wanted my design to tell and, the more I explored other designers’ work, the more ideas I had of how to bring that story to life. It was so tempting to go back again and again to adjust the formatting and styles, to add new sections, and to just fiddle with it all – and I’m certainly guilty of giving in to that urge! – but I knew that couldn’t last. As I’ve seen in every project I’ve ever worked on, as a designer and otherwise, there’s a huge difference between actually fixing problems or improving your work and chasing perfection. When I found that line with this design, I did a final check on the project, declared it complete, and started developing it.
This design also forced me to reconsider my design process. In the past, I’d designed much simpler projects and, while I’d gotten plenty of feedback as part of the design process, I’d never designed for an actual client with a real stake in every aspect of the design. My design process reflected that – I created mobile, tablet, and desktop versions of the design before seeking out feedback. While that worked in the past, I knew going in that that process wasn’t going to work for this project; there would be too many things I wanted to adjust and try out throughout the process, and constantly updating different versions would be incredibly inefficient. Instead, I focused on designing the mobile version and, once I was satisfied with that version, created the tablet and desktop versions from it. This required me to make small adjustments to the mobile version as I saw how the tablet and desktop versions changed the overall design, but the change paid off: it saved me considerable time and effort over the course of the design and, as a client, it would’ve saved me quite a bit of money.
Conclusion
After I completed this design, I began to develop it using a combination of HTML, CSS, and JavaScript, turning it into the fully functional webpage that you see before you today. This portfolio has become the backbone of my professional brand, allowing me to connect with prospective employers and clients and to show off both my work and my design process. If you’re interested in working with me or in any aspect of this design, please don’t hesitate to use any of the below contact methods to reach out – I’d love to hear from you.


